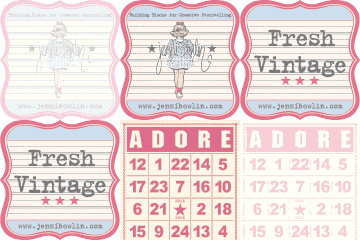
Today, I'd like to share a few extra pictures and instructions for making the banner I put together using this fun, fun paper set:

The banner:

I started by gathering supplies. In my case, I used the paper set and raided my stash of goodies for the other stuff - there are a bunch of companies out there making those banner pieces these days. I chose to use chipboard letters, but you could just as easily use diecuts! :) I also realized at this point that I didn't have enough of each piece to spell my word.
 So, I traced and cut a couple of extras from plain old chipboard sheets:
 Cover each banner piece with plain cardstock and trim.
I then cut 5 circles with a 3-3/8" diameter, and 5 slightly small to fit on top, mounted on foam dots. Using the banner piece as a template, I traced out triangles to fit underneath for another layer.
You can see how they're layered here:

After assembling the individual pieces, I started stringing them onto the ribbon. There are knots in front to hold each banner piece in place, so they don't slide toward the middle.


the "I" and "T" are threaded through the top:


The "H" and "A" are on small stars, so I punched holes on either side to connect them to the banner pieces:


Hope this helps you get a better idea how to put it together!!


Awesome project, Leah!! And thanks for the instructions!! :)
ReplyDelete